Post by gvwalker on Apr 14, 2017 7:15:12 GMT
To break the spambot hold on the AAAF boards, I though I'd share my first Shapeways model.
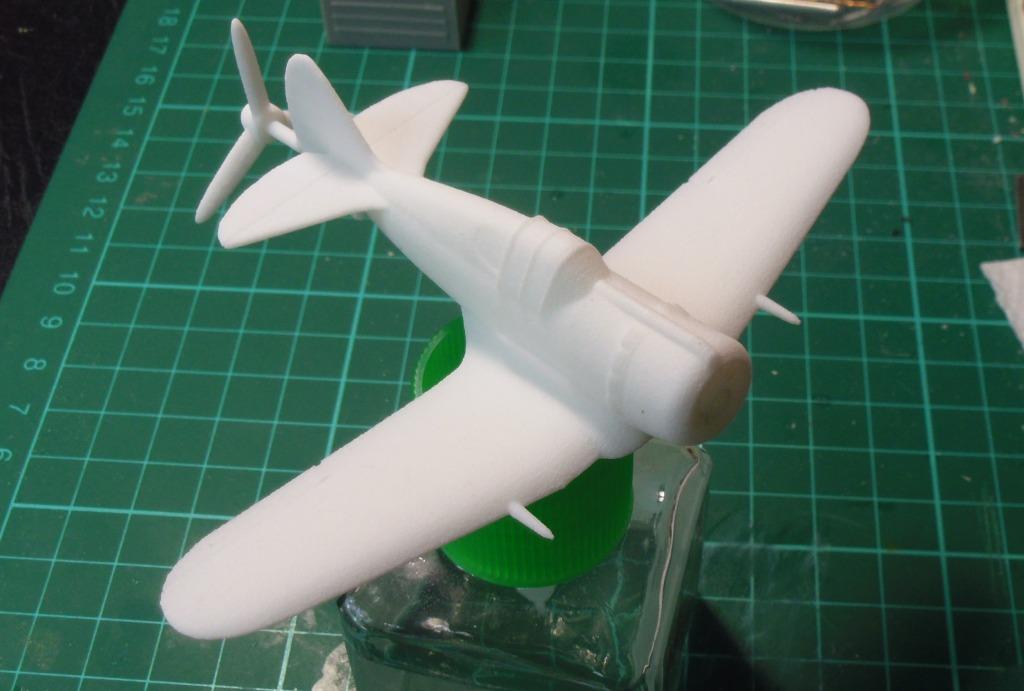
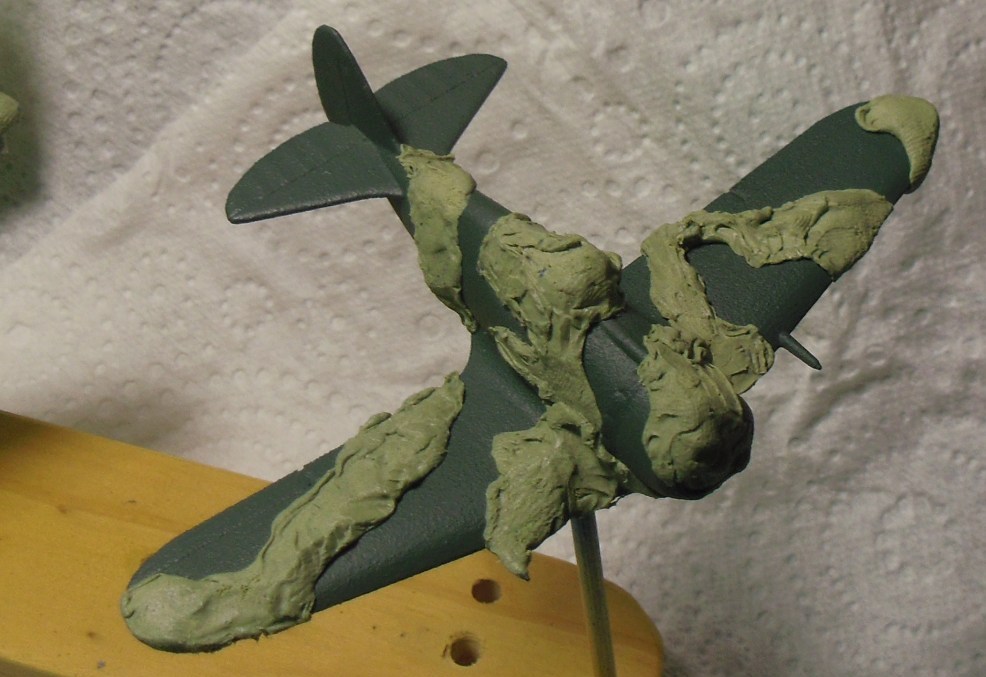
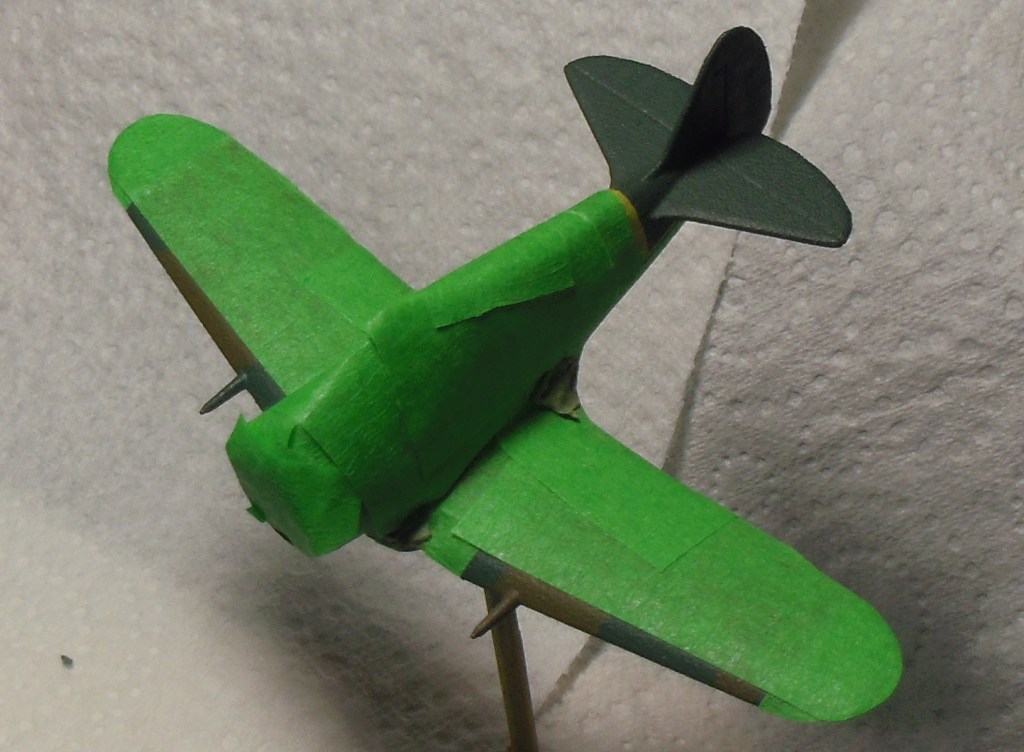
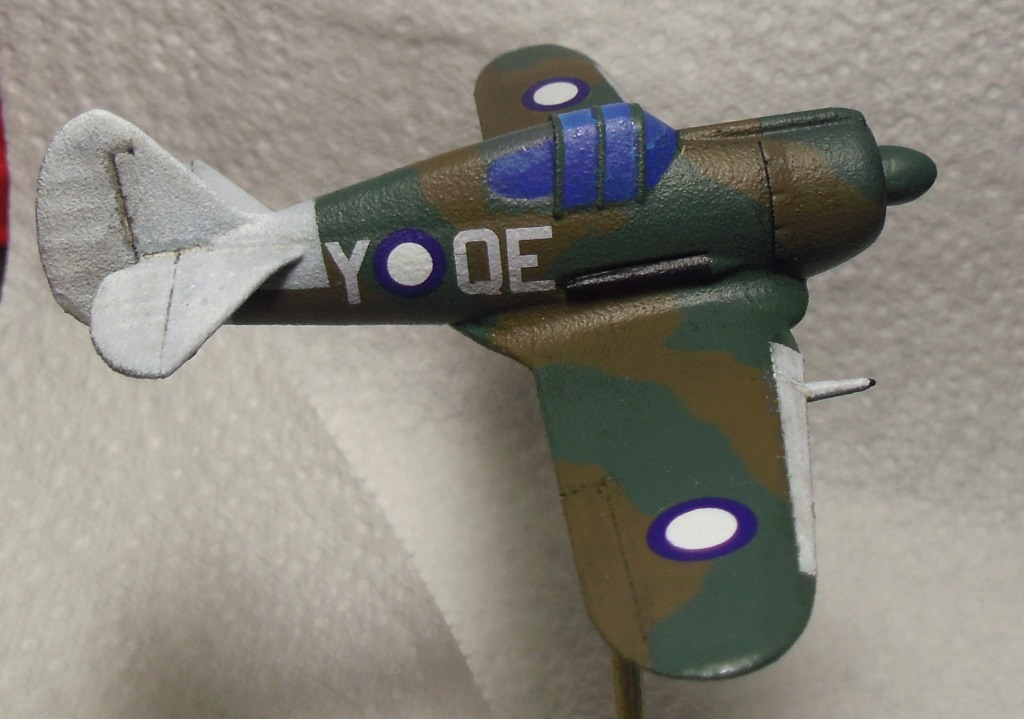
It hasn't got past the primer stage as yet and I started it about 8 weeks ago. Been a slow 2 months or so on the hobby bench.
The finish is quite grainy but a few more coats of 'Future' equivalent and the camouflage scheme should smooth it out a bit.
Anyway, here's the plan and the progress.
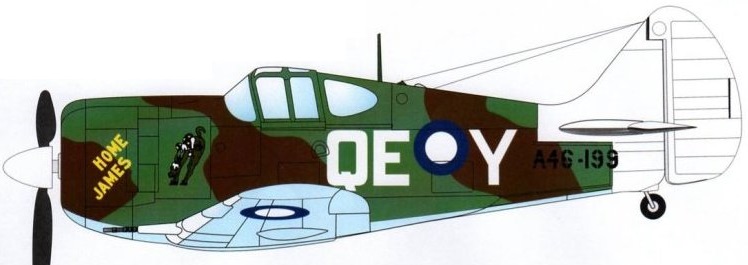
The price wasn't too bad but when the shipping was added and then converted to AUS $ it's not something I would do again unless there was a shipping discount offer. But... I just wanted to add the Boomerang to my RAAF hangar of aircraft. It didn't have a very good air combat record but proved to be a very useful ground attack / ground/air co-operation platform.
Decapod re-scaled an existing model he had to 1/100 for me so I was happy to be able to get it.
www.shapeways.com/product/WYK93ZFEX/1-100-cac-boomerang?optionId=60682663&li=ostatus
I am planning to just drill a hole into the underside that matches the diameter of the ball on the standard A&A stands. If it's not too deep and is an interference fit it should work out ok. I'll let you know when I've tried the theory
In-progress photos are just as good Bill. The feedback you get will help clear the painters block for sure. I would happy to see anything on this folder that's not my own :lol:
Remember, if there's no photos, it never happened
A quick shot of green while it was in the brush for the Spitfires.
The photo is a little out of focus.
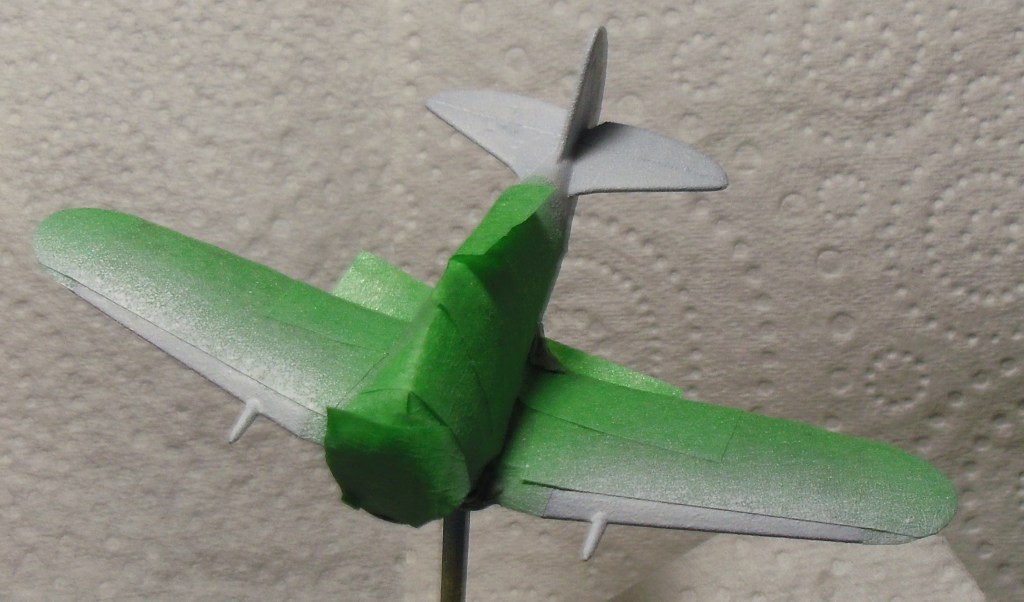
Ready for Dark Earth....
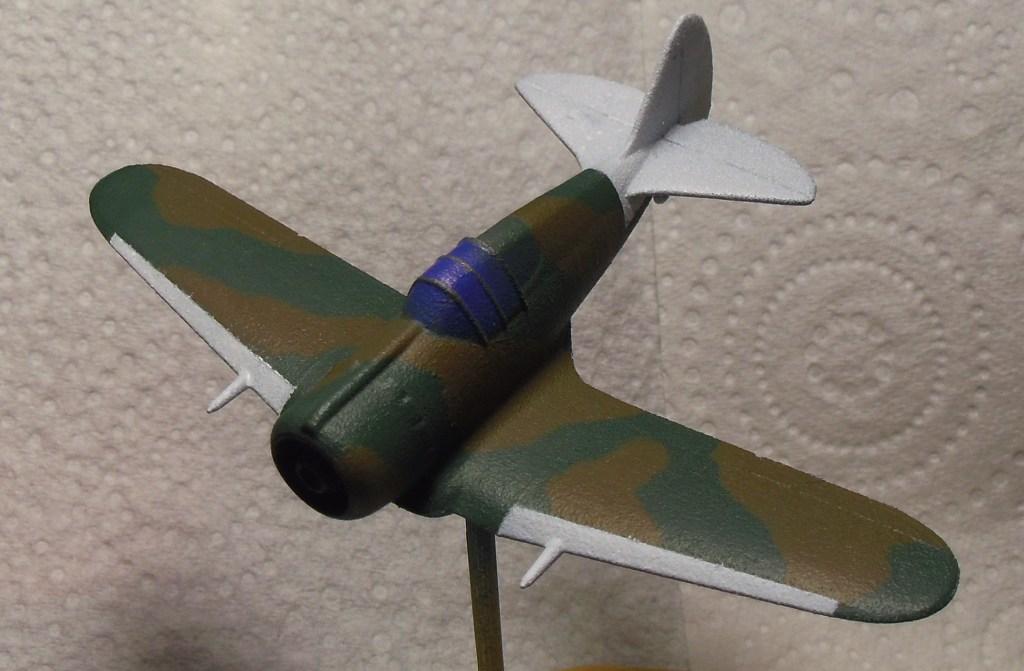
Brown on....
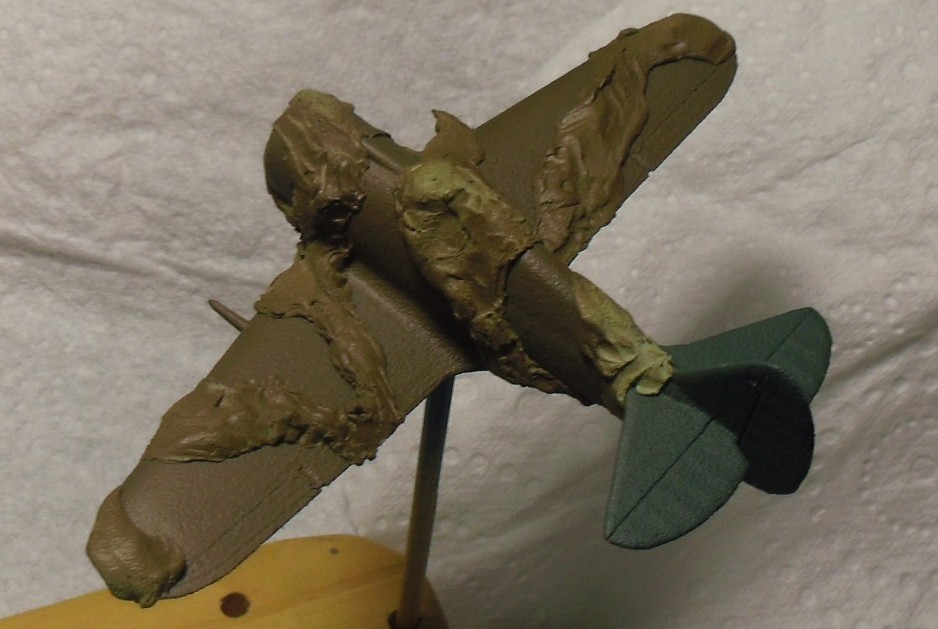
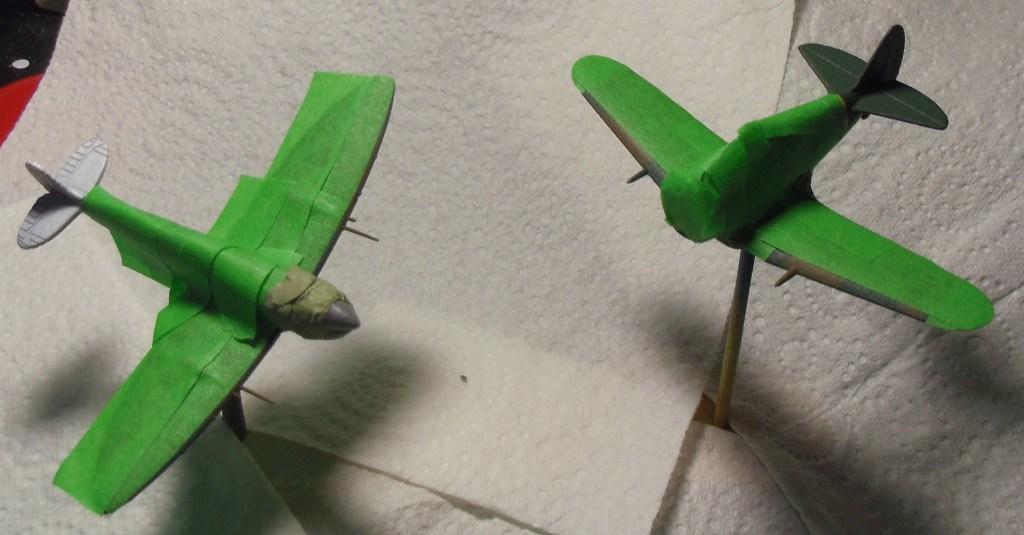
Masking off....
Clean up and detail painting next week........ maybe
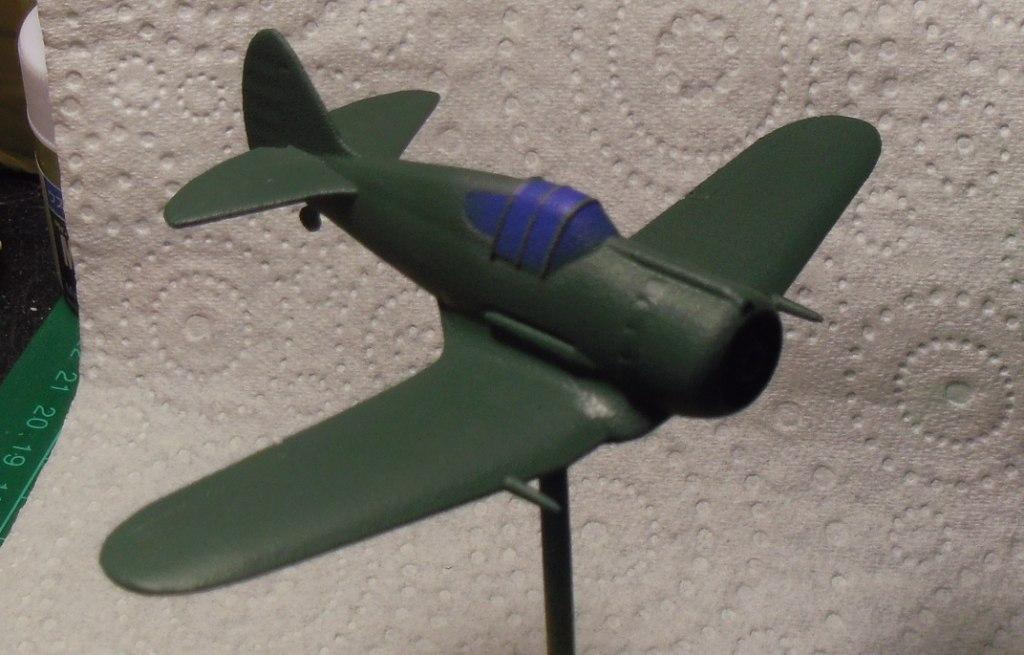
A bit of careful thinking to mask this one for both the underside and the white tail and leading edges. Hopefully it works out OK without too much clean up work.
Using the Sky Blue underside colour as an undercoat, the white came out reasonably well.
A little bit of bleed under the wing masking, but that can be cleaned up fairly easily.
I'm still having trouble with the white and will need to thin it a little more in future and maybe drop the pressure in the airbrush a bit as well.
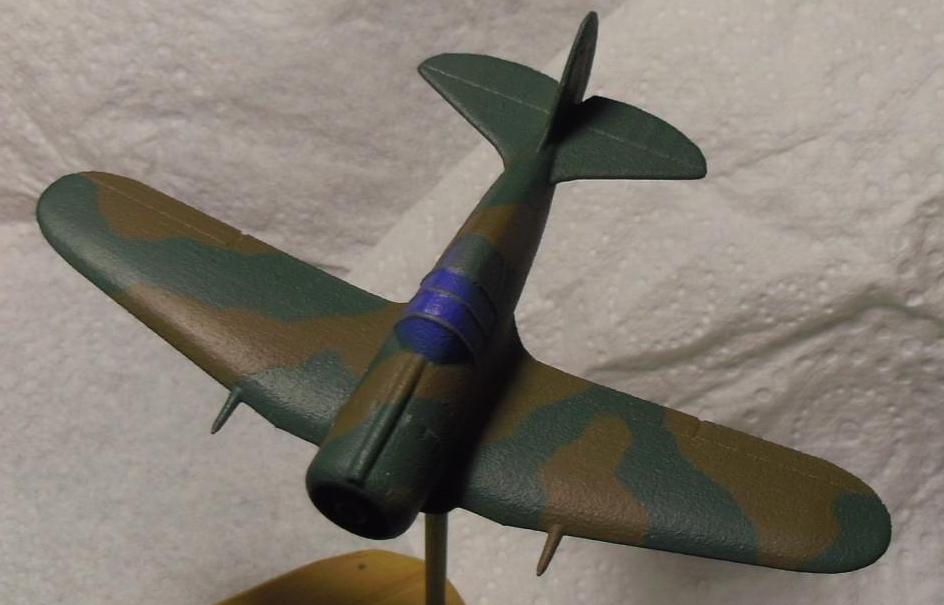
Here's how it came out.
Well, the difference is like Night and Day. Wait a minute; Joe Jackson again 
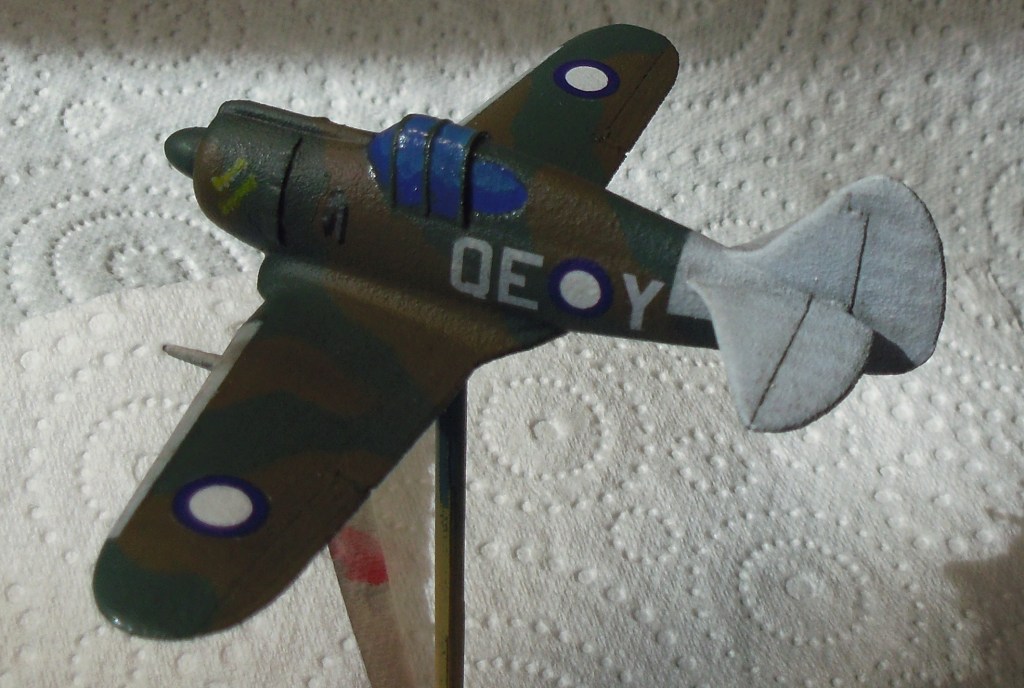
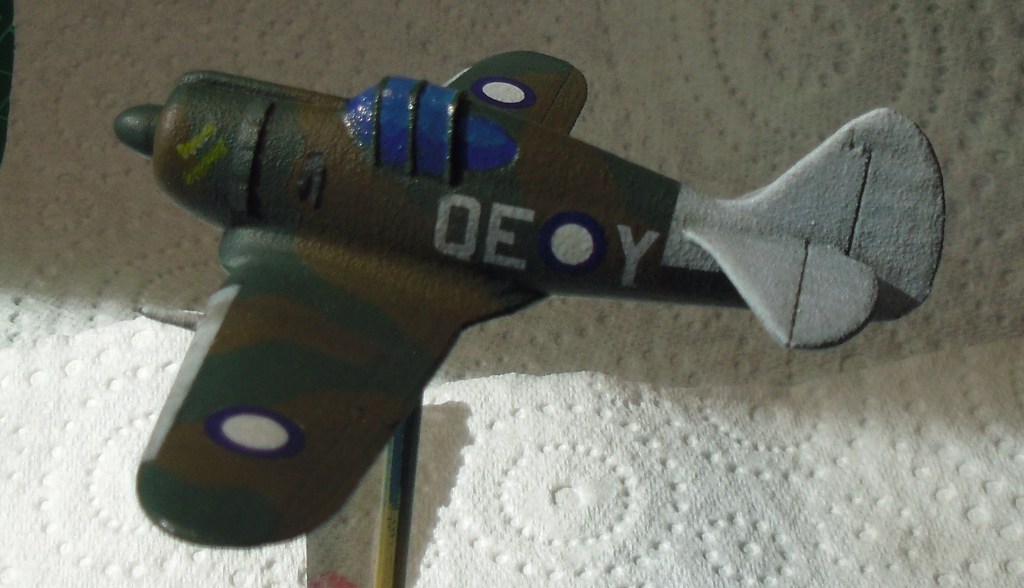
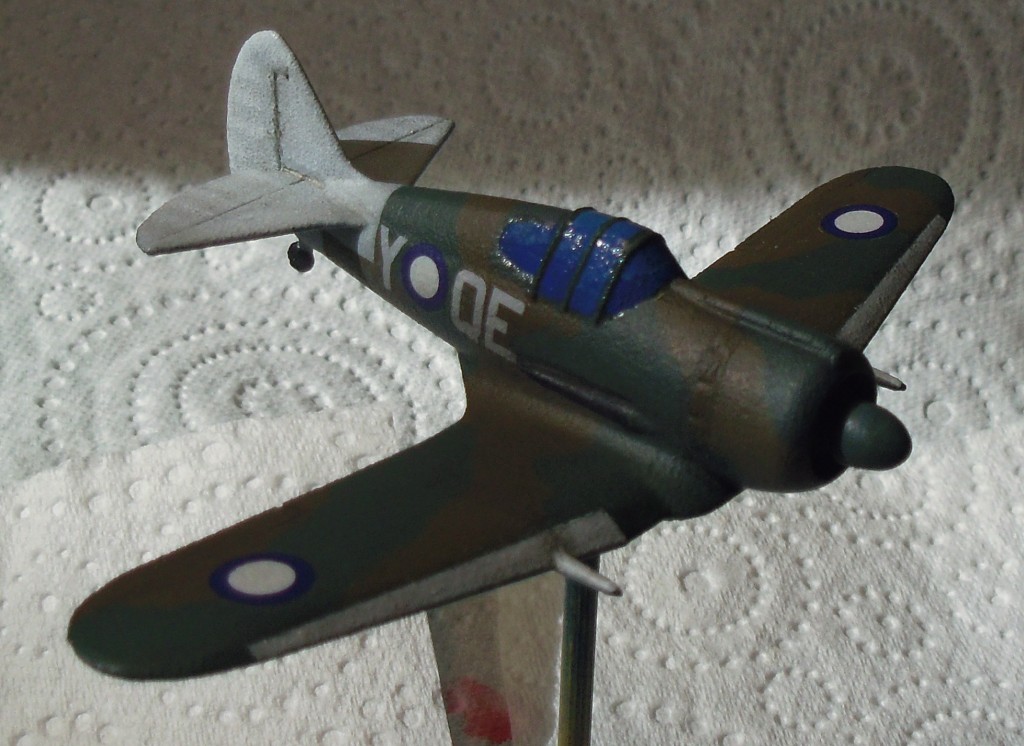
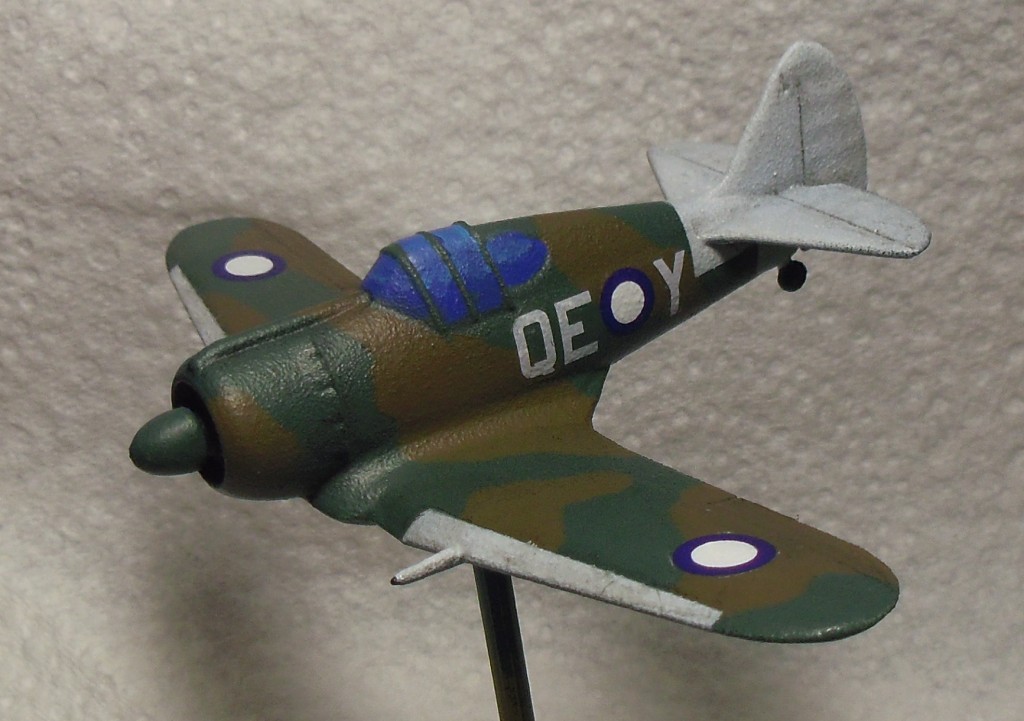
Anyway, here's the decals applied and the first matt coat on.
The finish still looks a little rough but the layers of paint have gone a ways to smooth it out. The next one will have more work to smooth the surface better.
Details and weathering to come, and I may try the nose art as well
It hasn't got past the primer stage as yet and I started it about 8 weeks ago. Been a slow 2 months or so on the hobby bench.

The finish is quite grainy but a few more coats of 'Future' equivalent and the camouflage scheme should smooth it out a bit.
Anyway, here's the plan and the progress.
I have been tempted to go the Shapeways way too, but was blocked by the high price of the 1/100 aircraft models.
The price wasn't too bad but when the shipping was added and then converted to AUS $ it's not something I would do again unless there was a shipping discount offer. But... I just wanted to add the Boomerang to my RAAF hangar of aircraft. It didn't have a very good air combat record but proved to be a very useful ground attack / ground/air co-operation platform.
Decapod re-scaled an existing model he had to 1/100 for me so I was happy to be able to get it.
www.shapeways.com/product/WYK93ZFEX/1-100-cac-boomerang?optionId=60682663&li=ostatus
Nice work so far. My question is, what will be your solution to attaching the model to its stand (and have it articulated)?
I am planning to just drill a hole into the underside that matches the diameter of the ball on the standard A&A stands. If it's not too deep and is an interference fit it should work out ok. I'll let you know when I've tried the theory

Thanks for bringing some reality to the content.
I have two aircraft that are just short of photographing for the site, but I have "painter's block".
I have two aircraft that are just short of photographing for the site, but I have "painter's block".
In-progress photos are just as good Bill. The feedback you get will help clear the painters block for sure. I would happy to see anything on this folder that's not my own :lol:
Remember, if there's no photos, it never happened

A quick shot of green while it was in the brush for the Spitfires.
The photo is a little out of focus.
Ready for Dark Earth....
Brown on....
Masking off....
Clean up and detail painting next week........ maybe
A bit of careful thinking to mask this one for both the underside and the white tail and leading edges. Hopefully it works out OK without too much clean up work.
Using the Sky Blue underside colour as an undercoat, the white came out reasonably well.
A little bit of bleed under the wing masking, but that can be cleaned up fairly easily.
I'm still having trouble with the white and will need to thin it a little more in future and maybe drop the pressure in the airbrush a bit as well.
Here's how it came out.
Look Sharp - Joe Jackson
wait... wrong thread for that
wait... wrong thread for that

Anyway, here's the decals applied and the first matt coat on.
The finish still looks a little rough but the layers of paint have gone a ways to smooth it out. The next one will have more work to smooth the surface better.
Details and weathering to come, and I may try the nose art as well