Post by gvwalker on Apr 15, 2017 6:53:08 GMT
The first of two Tonys I'm planning to repaint.
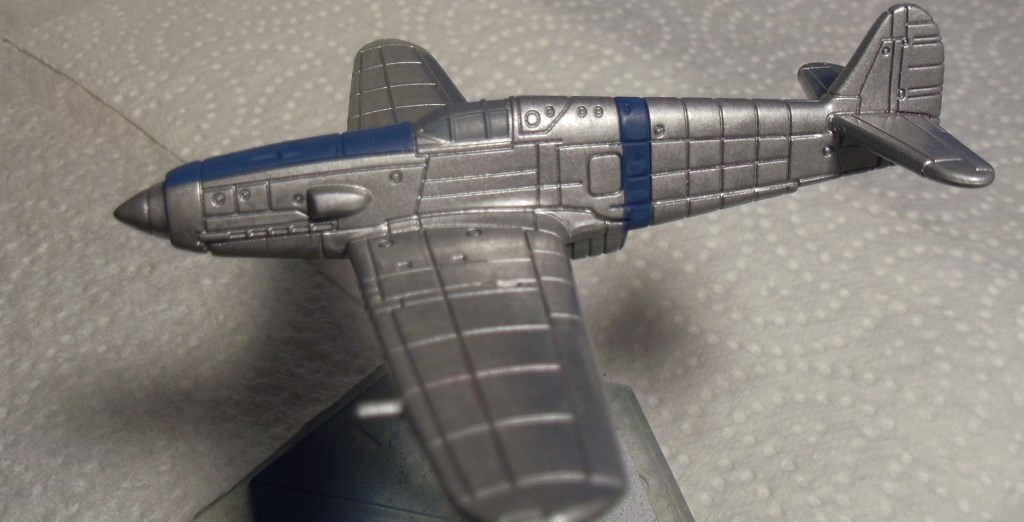
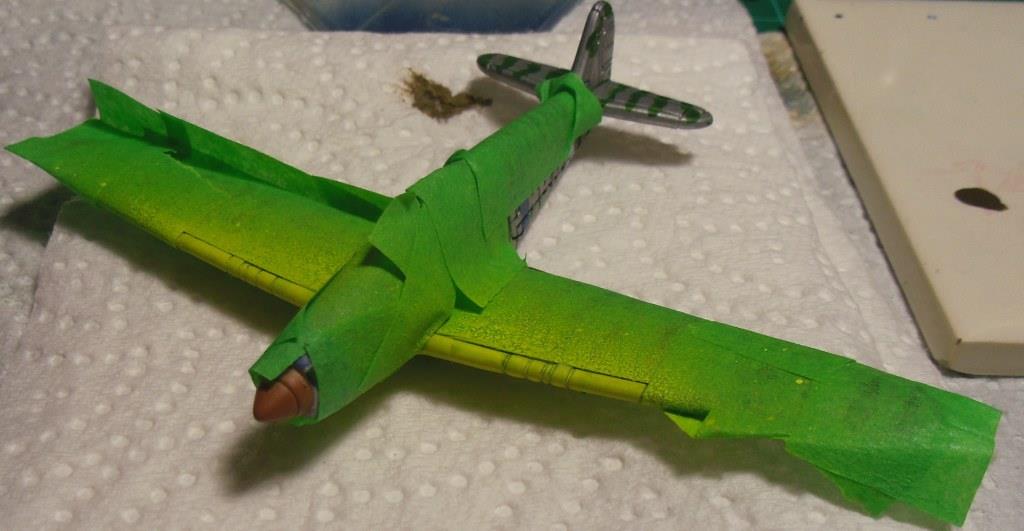
Aluminium over grey primer to start


Next step finished.
I found that the low tack green tape I'm using removed some of the sheen from the aluminium finish. Putting wear on it just by masking; bonus!
I think I'll be doing the green cam stripes by hand with this one.

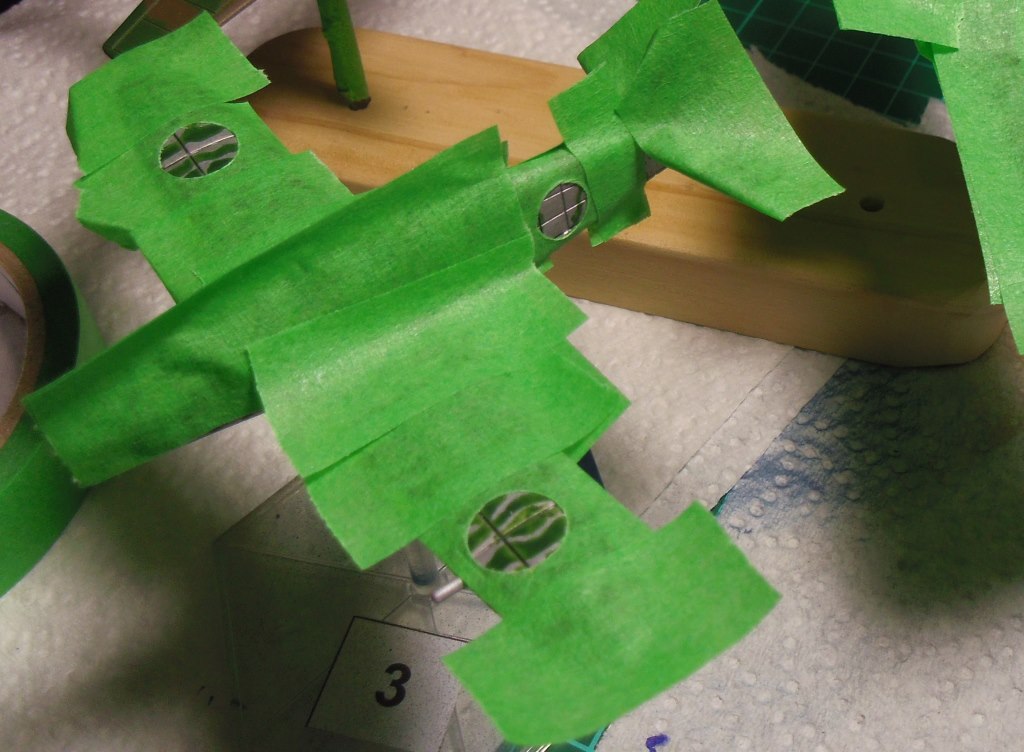
Masked for the next stage; white fuselage band and the spinner in red

You'd be surprised how cheap it is to get into Bill. My airbrush/compressor was less than AU$100 (that's about US$75 right now) delivered last year.
Something like these:
www.ebay.com.au/itm/1-6HP-Air-Compressor-with-Tank-for-Air-Brush-Spray-Gun-Nail-Art-Make-Up-Tattoo/191249801289?_trksid=p2047675.c100011.m1850&_trkparms=aid%3D222007%26algo%3DSIC.MBE%26ao%3D1%26asc%3D20140107090050%26meid%3D0922641e62694c90bc81a2993bfda9fd%26pid%3D100011%26rk%3D1%26rkt%3D10%26mehot%3Dpp%26sd%3D351054544166
www.ebay.com.au/itm/1-6HP-Compressor-0-2mm-Airbrush-Hose-Stencil-Kit-Air-Brush-Spray-Gun-Paint-Art/121582748982?_trksid=p2047675.c100011.m1850&_trkparms=aid%3D222007%26algo%3DSIC.MBE%26ao%3D1%26asc%3D20140107090050%26meid%3D0922641e62694c90bc81a2993bfda9fd%26pid%3D100011%26rk%3D7%26rkt%3D10%26sd%3D351054544166
There's likely to be something closer to where you are for just as good a price. The second one is great as it has everything you need to start off. I've been teaching myself on these AAAF planes.
Youtube tutorials are very helpful too.
Update.
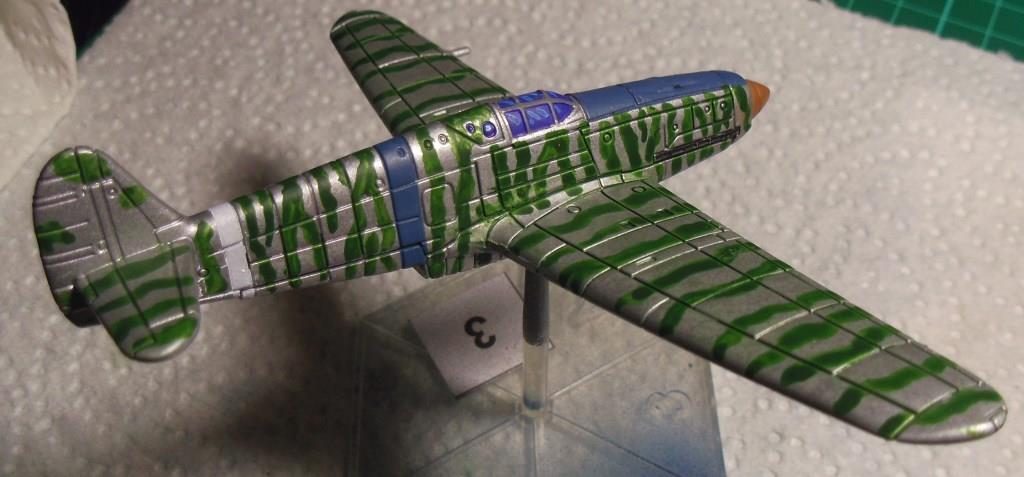
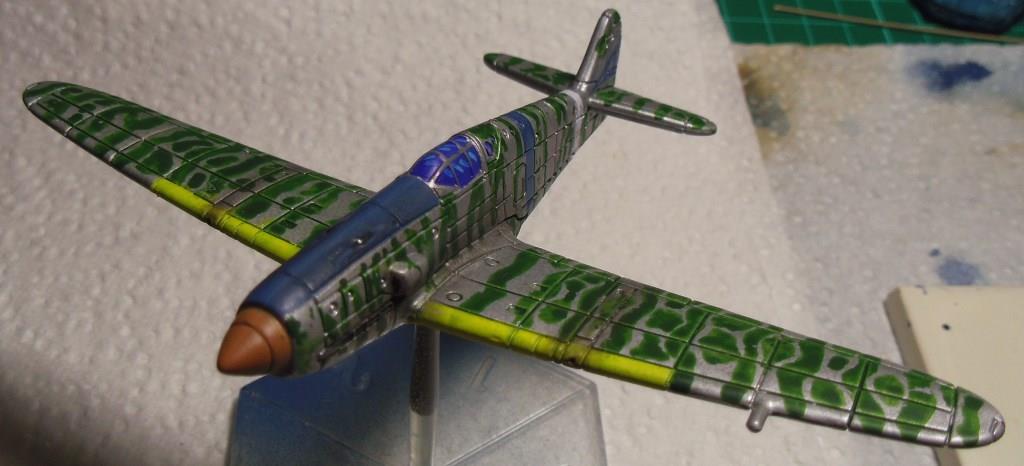
The green stripes are from airbrush paint applied with a brush by hand.
The paint comes out with a nice faded look but I'm not really happy with the wing stripes.

That's what I thought and did to start with Variable. Then I had a "wait a minute" moment and quickly did a bit of Google-research and couldn't find ANY photos or diagrams that supported the theory so I quickly went back and rubbed the wings off. Turned into a dark green wash on the wings before I did them in the other direction.
The stripes as they are aren't backed up by any photos or diagrams either; everything I can find shows spots or crazing patterns so some adjustment will done a bit later.
Anyway, yellow leading edges and the tail motif done. The rest of the tail marking will be filled in by hand.
You will note that the paint is starting to peel off from all the masking tape. I don't mind as it is helping with the weathering


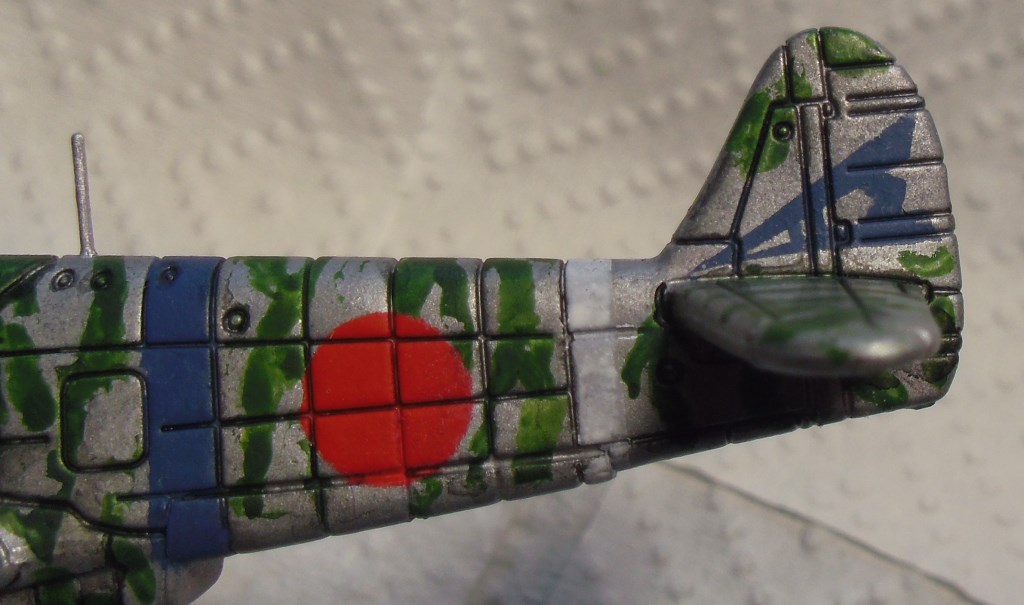
OK, so a little update.
Have modified the wing pattern by filling in the gaps a bit; still not really accurate but better than it was.
Drilled out the wing gun ports and stained them, the nose guns and the exhausts.
Filled in the details of the tail insignia but will get a better photo of that later.
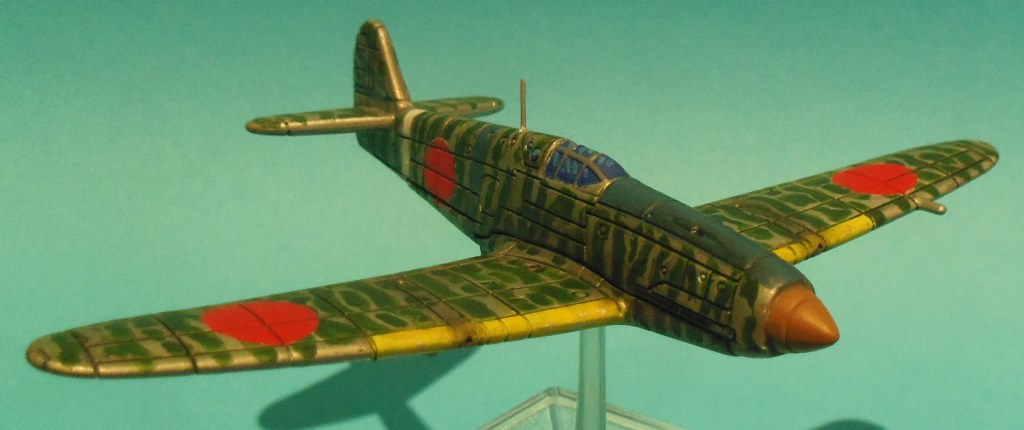
Here's the last stages of this repaint. It only needs a matt coat to seal it all in now, which it really needs as the top layers are prone to peeling away from the base coat flat aluminum.
Quite happy with this one.


Thank you all for the kind comments.
Pendragon, the masking takes about 10 times longer than the actual painting but the airbrushed result is well worth the time.
And a matt coat to finish. This one is done as well.


Aluminium over grey primer to start
Next step finished.
I found that the low tack green tape I'm using removed some of the sheen from the aluminium finish. Putting wear on it just by masking; bonus!
I think I'll be doing the green cam stripes by hand with this one.
Masked for the next stage; white fuselage band and the spinner in red
Much envy for those with air brushes.
You'd be surprised how cheap it is to get into Bill. My airbrush/compressor was less than AU$100 (that's about US$75 right now) delivered last year.
Something like these:
www.ebay.com.au/itm/1-6HP-Air-Compressor-with-Tank-for-Air-Brush-Spray-Gun-Nail-Art-Make-Up-Tattoo/191249801289?_trksid=p2047675.c100011.m1850&_trkparms=aid%3D222007%26algo%3DSIC.MBE%26ao%3D1%26asc%3D20140107090050%26meid%3D0922641e62694c90bc81a2993bfda9fd%26pid%3D100011%26rk%3D1%26rkt%3D10%26mehot%3Dpp%26sd%3D351054544166
www.ebay.com.au/itm/1-6HP-Compressor-0-2mm-Airbrush-Hose-Stencil-Kit-Air-Brush-Spray-Gun-Paint-Art/121582748982?_trksid=p2047675.c100011.m1850&_trkparms=aid%3D222007%26algo%3DSIC.MBE%26ao%3D1%26asc%3D20140107090050%26meid%3D0922641e62694c90bc81a2993bfda9fd%26pid%3D100011%26rk%3D7%26rkt%3D10%26sd%3D351054544166
There's likely to be something closer to where you are for just as good a price. The second one is great as it has everything you need to start off. I've been teaching myself on these AAAF planes.
Youtube tutorials are very helpful too.
Update.
The green stripes are from airbrush paint applied with a brush by hand.
The paint comes out with a nice faded look but I'm not really happy with the wing stripes.
I think the wing stripes run the other direction. Sort of an extension of the ones coming off the fuselage.
That's what I thought and did to start with Variable. Then I had a "wait a minute" moment and quickly did a bit of Google-research and couldn't find ANY photos or diagrams that supported the theory so I quickly went back and rubbed the wings off. Turned into a dark green wash on the wings before I did them in the other direction.
The stripes as they are aren't backed up by any photos or diagrams either; everything I can find shows spots or crazing patterns so some adjustment will done a bit later.
Anyway, yellow leading edges and the tail motif done. The rest of the tail marking will be filled in by hand.
You will note that the paint is starting to peel off from all the masking tape. I don't mind as it is helping with the weathering

OK, so a little update.
Have modified the wing pattern by filling in the gaps a bit; still not really accurate but better than it was.
Drilled out the wing gun ports and stained them, the nose guns and the exhausts.
Filled in the details of the tail insignia but will get a better photo of that later.
Here's the last stages of this repaint. It only needs a matt coat to seal it all in now, which it really needs as the top layers are prone to peeling away from the base coat flat aluminum.
Quite happy with this one.
Thank you all for the kind comments.
Pendragon, the masking takes about 10 times longer than the actual painting but the airbrushed result is well worth the time.
And a matt coat to finish. This one is done as well.